Introduction
OTPLESS provides a seamless, passwordless, and OTP-less sign-in solution designed to enhance user experience across various platforms and frameworks. By enabling secure and swift authentication methods such as WhatsApp, UPI, Google, Apple, GitHub, Slack, Microsoft, and more, OTPLESS aims to streamline user access and improve conversion rates.
Why Use OTPLESS for Your JavaScript Web Applications?
- Increased Security: OTPLESS eliminates common vulnerabilities associated with traditional password and OTP systems by employing direct authentication mechanisms.
- Enhanced User Experience: Users enjoy a frictionless and faster login process without the hassle of passwords or OTPs.
- Flexibility: The platform supports a wide range of sign-in methods, making it versatile for various user demographics and technological contexts.
- Integration Ease: OTPLESS offers detailed documentation and robust support, making the integration process straightforward for developers.
Getting Started with OTPLESS for JavaScript
Prerequisites
Before diving into the integration of OTPLESS, ensure that your development environment is set up to meet the following requirements:
Technical Requirements
- JavaScript Knowledge: Basic understanding of JavaScript and web development.
- Environment Setup: Node.js installed on your system, along with a preferred text editor and command line interface.
- Existing Project: A JavaScript web application where you intend to implement OTPLESS. If you’re starting from scratch, make sure to follow a setup guide.
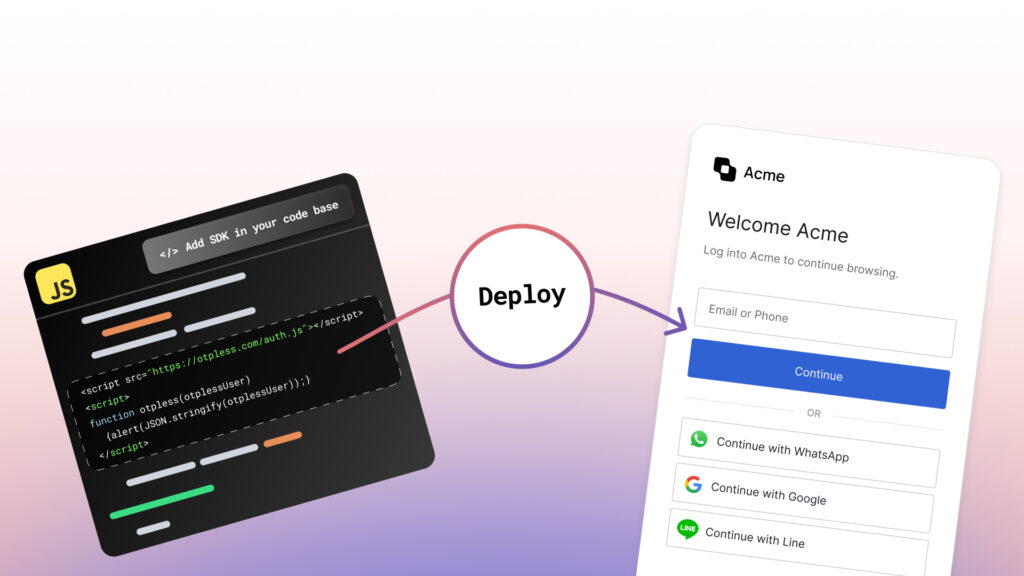
To integrate OTPLESS authentication effectively into your JavaScript application, it’s crucial to follow the proper setup procedures. We’ll guide you through creating your OTPLESS account, configuring settings, and preparing your JavaScript environment using the correct SDK documentation.
Integration Steps
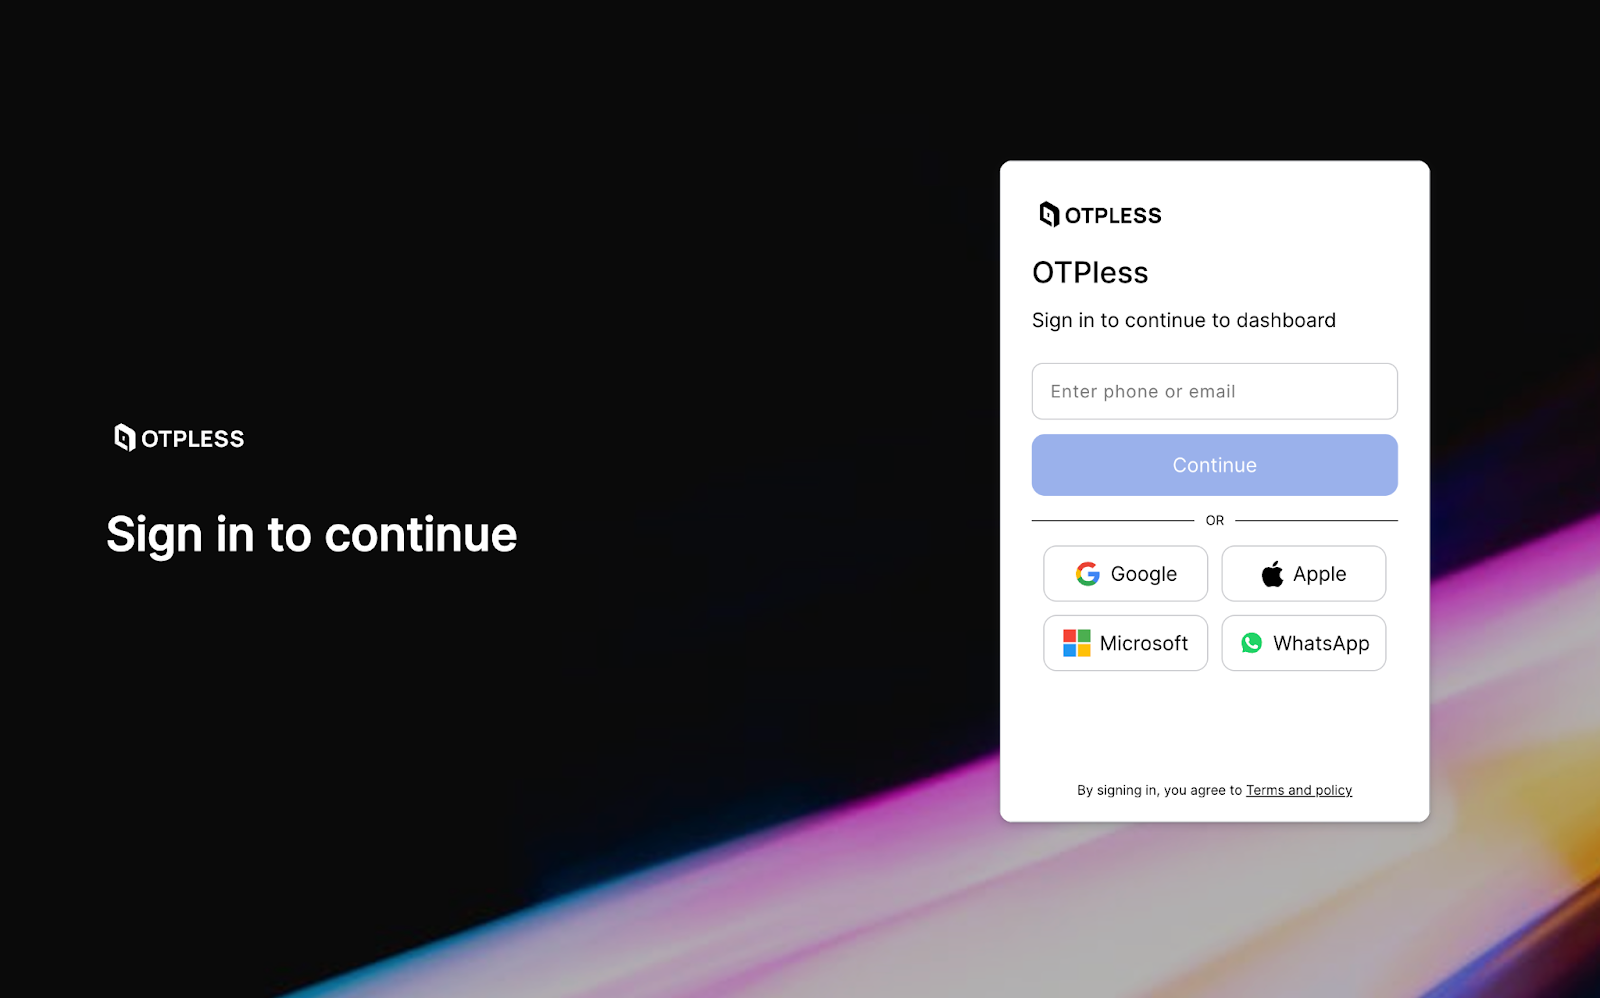
Step 1: Create an OTPLESS Account
Begin by registering for an OTPLESS account. Visit the OTPLESS login page and follow the prompts to set up your account.
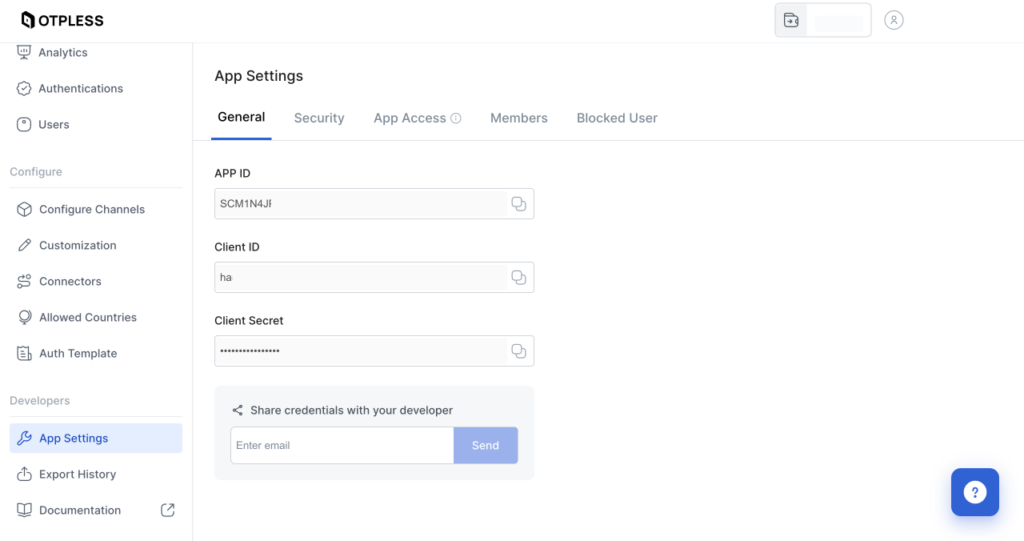
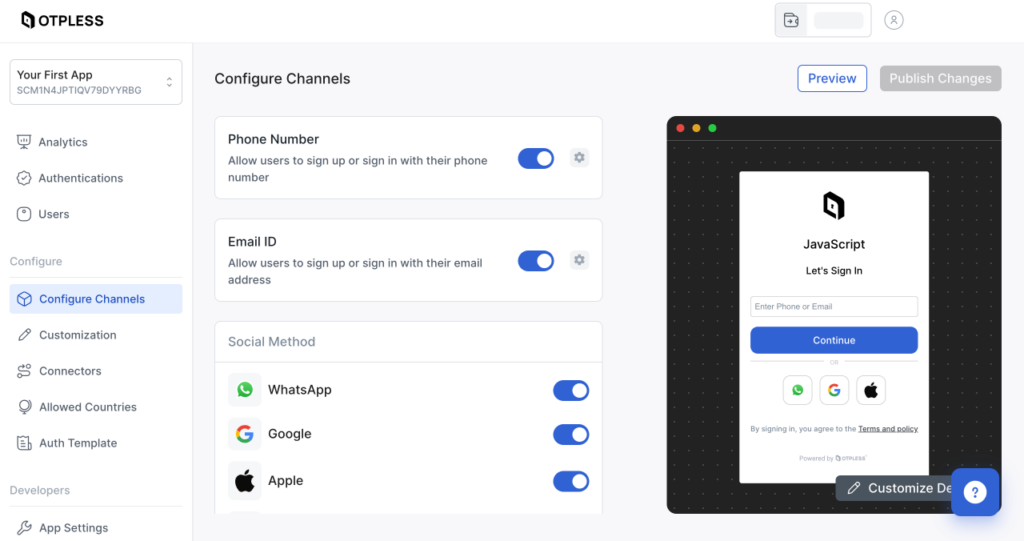
Step 2: Access Your Dashboard
Once you’ve created your account, access your dashboard. Here, you’ll manage your AppId, ClientId, ClientSecret and app settings, which are vital for integrating OTPLESS with your application.
Step 3: Installing & Initialising the OTPLESS SDK
Pre-built UI vs. Headless SDK
OTPLESS provides two primary methods for integrating authentication system into your JavaScript web application: using their Pre-built UI or the Headless SDK.
Pre-built UI
The Pre-built UI is the quickest way to integrate OTPLESS. It offers a ready-made authentication interface that you can easily embed into your application. This method is ideal for teams looking to implement a reliable, stylish authentication flow without needing extensive customization.
1. Initialise the SDK: Replace YOUR_APP_ID with the APP ID you copied from the dashboard.
<!-- OTPLESS SDK -->
<script
  id="otpless-sdk"
  type="text/javascript"
  data-appid="YOUR_APP_ID"
  src="https://otpless.com/v2/auth.js"
></script>
2. Load the Login Interface: Include a div element where the OTPLESS login interface will be rendered
<!-- OTPLESS Login UI -->
<div id="otpless-login-page"></div>
3. Handle Authentication Callback: Implement a callback function to handle the authentication response and manage user data:
<script>
  function otpless(otplessUser) {
    const token = otplessUser.token;
    console.log('Token:', token);
    console.log('User Details:', JSON.stringify(otplessUser));
  }
</script>
Headless SDK
The Headless SDK provides a more flexible approach, allowing you to build a custom UI on top of the OTPLESS authentication logic. This option is suited for applications requiring a tailored user experience or specific integrations that the Pre-built UI does not support.
1. Initialise the SDK: Replace YOUR_APP_ID with the APP ID you copied from the dashboard.
<script
  id="otpless-sdk"
  src="https://otpless.com/v2/headless.js"
  data-appid="YOUR_APP_ID"
></script>
2. Initialize SDK and Handle Callback: Initialize the SDK and set up a callback function to handle authentication
<script>
  const callback = (userinfo) => {
    const emailMap = otplessUser.identities.find(
      (item) => item.identityType === "EMAIL"
    );

    const mobileMap = otplessUser.identities.find(
      (item) => item.identityType === "MOBILE"
    )?.identityValue;

    const token = otplessUser.token;

    const email = emailMap?.identityValue;

    const mobile = mobileMap?.identityValue;

    const name = emailMap?.name || mobileMap?.name;

    console.log(userinfo);

    // Implement your custom logic here.
  };
  // Initialize OTPLESS SDK with the defined callback.
  const OTPlessSignin = new OTPless(callback);
</script>
With the Headless SDK, you have full control over the authentication process and can integrate it seamlessly into your existing user interface and user experience workflows.
Choosing the Right Approach
- Pre-built UI is best for developers who want a quick and easy setup without the need for deep customization.
- Headless SDK is ideal for developers who require full control over the UI and UX, allowing for a more integrated and customized user experience.
Both methods ensure secure and efficient authentication and can be chosen based on your specific project needs.
Step 4: Backend Verification of Authentication Token
Once the user is authenticated and you have their token which you received in the callback setup in the previous step, you need to verify this token with your server to ensure its validity and to securely establish a session or other security measures.
Example Backend Verification:
app-post('/verify-token', (req, res) => {
const { token } = req. body;
// Call OTPLESS verify API
// Implement token verification logic here
res.status (200)-json(< verified: true });
}) ;
The structure of the user information returned upon successful sign-in is as follows:
{
  "token": "unique_token_here",
  "userId": "unique_user_id_here",
  "timestamp": "ISO_timestamp_here",
  "identities": [
    {
      "identityType": "EMAIL",
      "identityValue": "user@example.com",
      "channel": "GMAIL",
      "methods": ["OAUTH"],
      "name": "User Name",
      "verified": "true",
      "verifiedAt": "ISO_timestamp_here",
      "isCompanyEmail": "true"
    },
    ...
  ],
  ...
}
Step 5: Handling Authenticated User Data
After successful authentication, manage user data according to your application’s requirements. This might involve creating sessions, personalizing user experiences, or other post-login actions.
Step 6: Security and Testing
Ensure all communications are secured with HTTPS, especially when handling sensitive data. Thoroughly test both the frontend and backend flows to ensure the entire system works seamlessly and securely.
Customizing Authentication Flows
Customization of authentication flows with OTPLESS allows for a flexible integration tailored to your needs, whether it’s enabling multi-factor authentication, using biometrics, or integrating various authentication methods like email, SMS, or social logins.
Set up different authentication methods based on your application requirements. You can configure these methods directly from your OTPLESS dashboard, where you can enable or disable certain methods, and arrange them in the preferred order of execution.
Error Handling
Error Handling and Troubleshooting: Integrating a new authentication solution like OTPLESS can sometimes lead to unforeseen issues. Proper error handling is crucial to ensure a smooth user experience and maintain security. Here are some common errors you might encounter and tips on how to handle them:
- API Connection Errors: These occur when your application fails to connect to OTPLESS servers. Ensure your network settings allow such connections and check for any service outages on OTPLESS status pages.
- Authentication Errors: Invalid credentials or expired sessions can prevent successful logins. Implement clear messages guiding users on how to resolve these issues, such as resetting passwords or re-authenticating.
- Configuration Errors: Misconfigurations in the SDK setup can lead to operational failures. Double-check all setup parameters against the OTPLESS documentation. Implement configuration tests to catch these errors early.
- Token Verification Failures: Handling tokens securely and verifying them correctly is crucial. Use try-catch blocks to handle failures in token verification and provide fallback mechanisms or re-authentication options.
- Logging and Monitoring: Set up detailed logging for authentication processes. This can help in diagnosing issues quickly. Consider using monitoring tools to track authentication failures and anomalies in real-time.
Best Practices
- Always validate and sanitize inputs that will be sent to OTPLESS servers to prevent injection attacks.
- Use secure and up-to-date libraries for handling HTTP requests and data encryption.
- Provide users with clear instructions on what to do in case of errors and whom to contact for support.
Implementing these practices will help mitigate common integration challenges, enhancing both the security and reliability of your authentication setup.
Conclusion
Securing Web Applications with OTPLESS: Integrating OTPLESS to handle authentication in your JavaScript web applications not only enhances security but also improves the user experience through streamlined login processes. By following the detailed steps outlined in this guide, developers can effectively implement both pre-built and headless authentication solutions tailored to their needs.
Reflecting on the Integration Journey: We’ve covered setting up the environment, integrating the SDK, handling user data securely, and customizing authentication flows. Each step is crucial in ensuring that the integration is not only functional but also robust against security threats.
Looking Ahead: As web technologies evolve, so do the strategies for securing applications. OTPLESS is committed to providing developers with up-to-date tools and documentation to tackle these challenges. Stay engaged with the OTPLESS community for updates and share your experiences and tips on forums and social media.
Feedback and Further Assistance: Your feedback drives improvements, not only to our SDKs but also to our documentation and developer support channels. If you encounter issues, or if you have suggestions for enhancing this guide, please reach out through our support channels or contribute to the community knowledge base.
By choosing OTPLESS and implementing it carefully, developers ensure their applications are secure, user-friendly, and ready for the future of web authentication.